NameCheap offers best rates for SSL certificates and domains. I decided to write this tutorial because buying SSL certificate for the first time can be little bit complicated and confusing. You have to go through few additional steps than buying any other product. But don’t worry, I’ll guide you through the process of buying a SSL certificate from NameCheap.
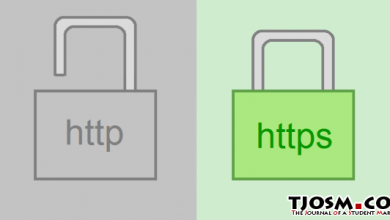
As you might already aware, SSL certificates are becoming a must have security feature for websites. Google is already preferring https enabled websites over http websites. That alone is an enough reason for me to move to https. But it has more benefits than that. It makes connection between your website and visitor’s computer secure. So there’s absolutely no reason for not to have it.
Since you’re already here, I believe you’ve already decided to enable SSL on your website. And there is a good chance that you’ve already generated CSR on your server. If you’re using my SSL installation service, I’ll generate CSR for you. If you don’t have a CSR yet, you can follow my tutorial to generate CSR on VIrtualmin. If you’re on shared hosting or you have cPanel as your control panel, you can follow cPanel’s official documentation to generate CSR.
Once you have the CSR let’s start by going to namecheap.com and clicking Security > SSL Certificates. Scroll down to the line that says What to look for when choosing an SSL an click Number of Domains Secured.

You’ll see 3 product types. Single Domain SSL, Wildcard SSL and Multi-Domain SSL. Read the descriptions and choose the product type that suite you. There are multiple certificate types under each product type with PositiveSSL being the cheapest. PositiveSSL will do the job for most of you. It does not require paperwork and will be issued within minutes. Feel free to browse the page and see if you need more advanced certificate. Once you found your certificate, add it to the cart and complete the checkout.
The next step after purchasing an SSL certificate is activation. This is where you’ll need CSR you generated earlier. Hover your mouse over your account username in the upper left corner, then select Dashboard. Next go to Product List > SSL Certificates. You’ll see the product you just brought. Click Activate button next to it.

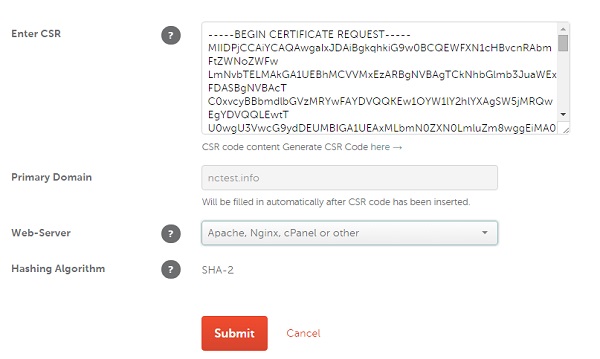
Copy-Paste CSR you generate earlier to the text box. Select web server as Apache, Nginx, cPanel or other And click submit.
You’ll need to validate your email address on the next page. Select DCV Method as Email and you MUST use the email address you used to buy the domain name. Also enter the administrative contact information and click Next. Then confirm the validation method and submit the order by clicking Confirm.
A confirmation email will be sent to the address you entered as validation email. Click the link in that email to confirm the issuance of SSL certificate. The validated certificate will then be sent to the administrative email address selected during activation. You’ll receive three files which you’ll need to install on your server by following my installing SSL certificate on Virtualmin tutorial or you caninstall it on cPanel by yourself.